Use TheHive as a cluster#
This guide provides configuration examples for TheHive, Cassandra and MinIO to build a fault-tolerant cluster of 3 active nodes.
Prerequisite#
3 servers with TheHive and Cassandra installed.
TheHive#
In this guide, we are considering the node 1 to be the master node. Start by configuring akka component by editing the /etc/thehive/application.conf file of each node like this:
akka {
  cluster.enable = on
  actor {
    provider = cluster
  }
remote.artery {
  canonical {
    hostname = "<My IP address>"
    port = 2551
  }
}
# seed node list contains at least one active node
cluster.seed-nodes = [
                      "akka://application@<Node 1 IP address>:2551",
                      "akka://application@<Node 2 IP address>:2551",
                      "akka://application@<Node 3 IP address>:2551"
                     ]
}
Cassandra#
We are considering setting up a cluster of 3 active nodes of Cassandra with a replication factor of 3. That means that all nodes are active and the data is present on each node. This setup is tolerant to a 1 node failure.
For the rest of this part, we are considering that all nodes sit on the same network.
Configuration#
Nodes configuration#
For each node, update configuration files with the following parameters:
/etc/cassandra/cassandra.yml
cluster_name: 'thp'
num_tokens: 256
authenticator: PasswordAuthenticator
authorizer: CassandraAuthorizer
role_manager: CassandraRoleManager
data_file_directories:
    - /var/lib/cassandra/data
commitlog_directory: /var/lib/cassandra/commitlog
saved_caches_directory: /var/lib/cassandra/saved_caches
seed_provider:
    - class_name: org.apache.cassandra.locator.SimpleSeedProvider
      parameters:
        - seeds: "<ip node 1>, <ip node 2>, <ip node 3>"
listen_interface : eth0
rpc_interface: eth0
endpoint_snitch: SimpleSnitch
Ensure to setup the right interface name.
- delete file
/etc/cassandra/cassandra-topology.properties
rm /etc/cassandra/cassandra-topology.properties
Start nodes#
On each node, start the service:
service cassandra start
Ensure that all nodes are up and running:
root@cassandra:/# nodetool status
Datacenter: dc1
===============
Status=Up/Down
|/ State=Normal/Leaving/Joining/Moving
--  Address      Load       Tokens       Owns (effective)  Host ID                               Rack
UN  <ip node 1>  776.53 KiB  256          100.0%            a79c9a8c-c99b-4d74-8e78-6b0c252abd86  rack1
UN  <ip node 2>  671.72 KiB  256          100.0%            8fda2906-2097-4d62-91f8-005e33d3e839  rack1
UN  <ip node 3>  611.54 KiB  256          100.0%            201ab99c-8e16-49b1-9b66-5444044fb1cd  rack1
Initialise the database#
On one node run (default password for cassandra account is cassandra):
cqlsh <ip node X> -u cassandra
- Start by changing the password of superadmin named
cassandra:
ALTER USER cassandra WITH PASSWORD 'NEWPASSWORD';
exit and reconnect.
- Ensure user accounts are duplicated on all nodes
ALTER KEYSPACE system_auth WITH replication = {'class': 'SimpleStrategy', 'replication_factor': 3 };
- Create keyspace named
thehive
CREATE KEYSPACE thehive WITH replication = {'class': 'SimpleStrategy', 'replication_factor': '3' } AND durable_writes = 'true';
- Create role
thehiveand grant permissions onthehivekeyspace (choose a password)
CREATE ROLE thehive WITH LOGIN = true AND PASSWORD = 'PASSWORD';
GRANT ALL PERMISSIONS ON KEYSPACE thehive TO 'thehive';
TheHive associated configuration#
Update the configuration of thehive accordingly in /etc/thehive/application.conf :
## Database configuration
db.janusgraph {
  storage {
    ## Cassandra configuration
    # More information at https://docs.janusgraph.org/basics/configuration-reference/#storagecql
    backend: cql
    hostname: ["<ip node 1>", "<ip node 2>", "<ip node 3>"]
    # Cassandra authentication (if configured)
    username: "thehive"
    password: "PASSWORD"
    cql {
      cluster-name: thp
      keyspace: thehive
    }
  }
Troubleshooting#
-
InvalidRequest: code=2200 [Invalid query] message=”org.apache.cassandra.auth.CassandraRoleManager doesn’t support PASSWORD”.
set the value authenticator: PasswordAuthenticator in cassandra.yaml
-
Caused by: java.util.concurrent.ExecutionException: com.datastax.driver.core.exceptions.UnauthorizedException: Unable to perform authorization of permissions: Unable to perform authorization of super-user permission: Cannot achieve consistency level LOCAL_ONEALTER KEYSPACE system_auth WITH replication = {'class': 'SimpleStrategy', 'replication_factor': 3 };
MinIO#
MinIO distributed mode requires fresh directories. Here is an example of implementation of MinIO with TheHive.
The following procedure should be performed on all servers belonging the the cluster. We are considering the setup where the cluster is composed of 3 servers named minio1, minio2 & minio3.
Create a dedicated system account#
Create a dedicated user with /opt/minio as homedir.
adduser minio
Create at least 2 data volumes on each server#
Create 2 folders on each server:
mkdir -p /srv/minio/{1,2}
chown -R minio:minio /srv/minio
Setup hosts files#
Edit /etc/hosts of all servers
ip-minio-1     minio1
ip-minio-2     minio2
ip-minio-3     minio3
installation#
cd /opt/minio
mkdir /opt/minio/{bin,etc}
wget -O /opt/minio/bin https://dl.minio.io/server/minio/release/linux-amd64/minio
chown -R minio:minio /opt/minio
Configuration#
Create or edit file `/opt/minio/etc/minio.conf
MINIO_OPTS="server --address :9100 http://minio{1...3}/srv/minio/{1...2}"
MINIO_ACCESS_KEY="<ACCESS_KEY>"
MINIO_SECRET_KEY="<SECRET_KEY>"
Create a service file named /usr/lib/systemd/system/minio.service
[Unit]
Description=minio
Documentation=https://docs.min.io
Wants=network-online.target
After=network-online.target
AssertFileIsExecutable=/opt/minio/bin/minio

[Service]
WorkingDirectory=/opt/minio
User=minio
Group=minio
EnvironmentFile=/opt/minio/etc/minio.conf
ExecStart=/opt/minio/bin/minio $MINIO_OPTS
Restart=always
LimitNOFILE=65536
TimeoutStopSec=0
SendSIGKILL=no

[Install]
WantedBy=multi-user.target
Enable and start the service#
systemctl daemon-reload
systemctl enable minio
systemctl start minio.service
Prepare the service for TheHive#
Following operations should be performed once all servers are up and running. A new server CAN NOT be added afterward.
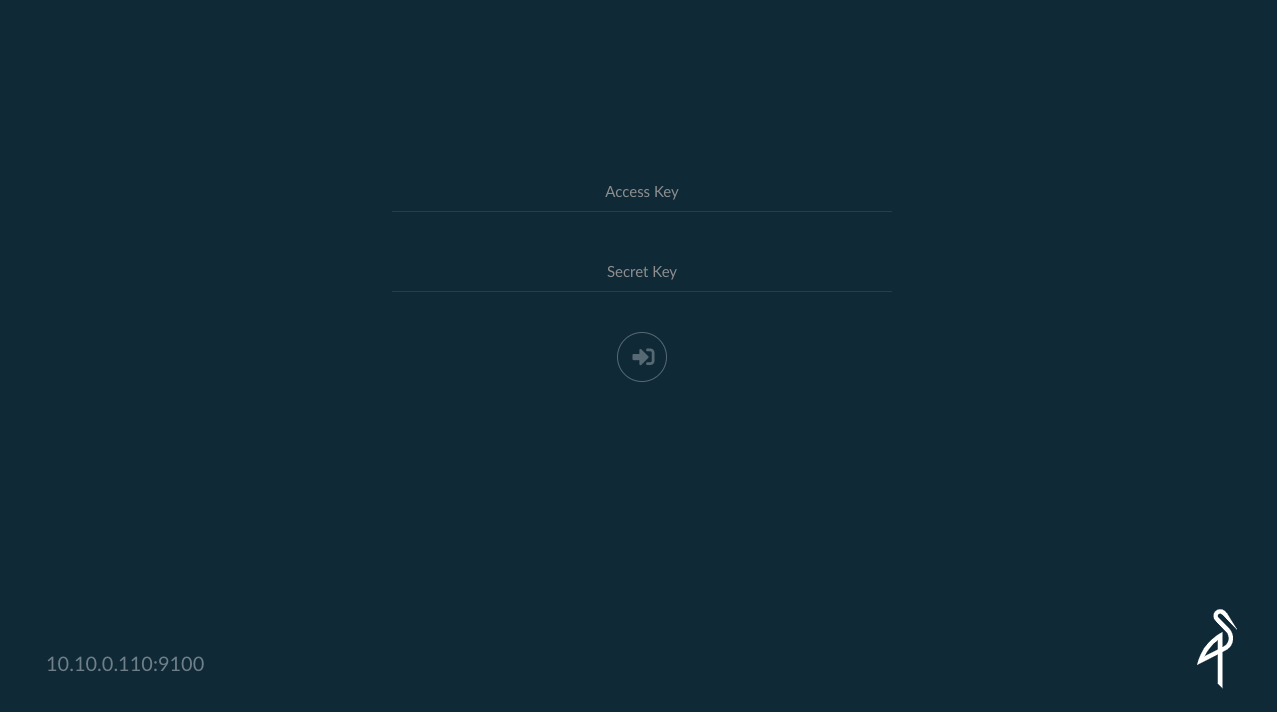
Connect using the access key and secret key to one server with your browser on port 9100: http://minio:9100
Create a bucket named thehive
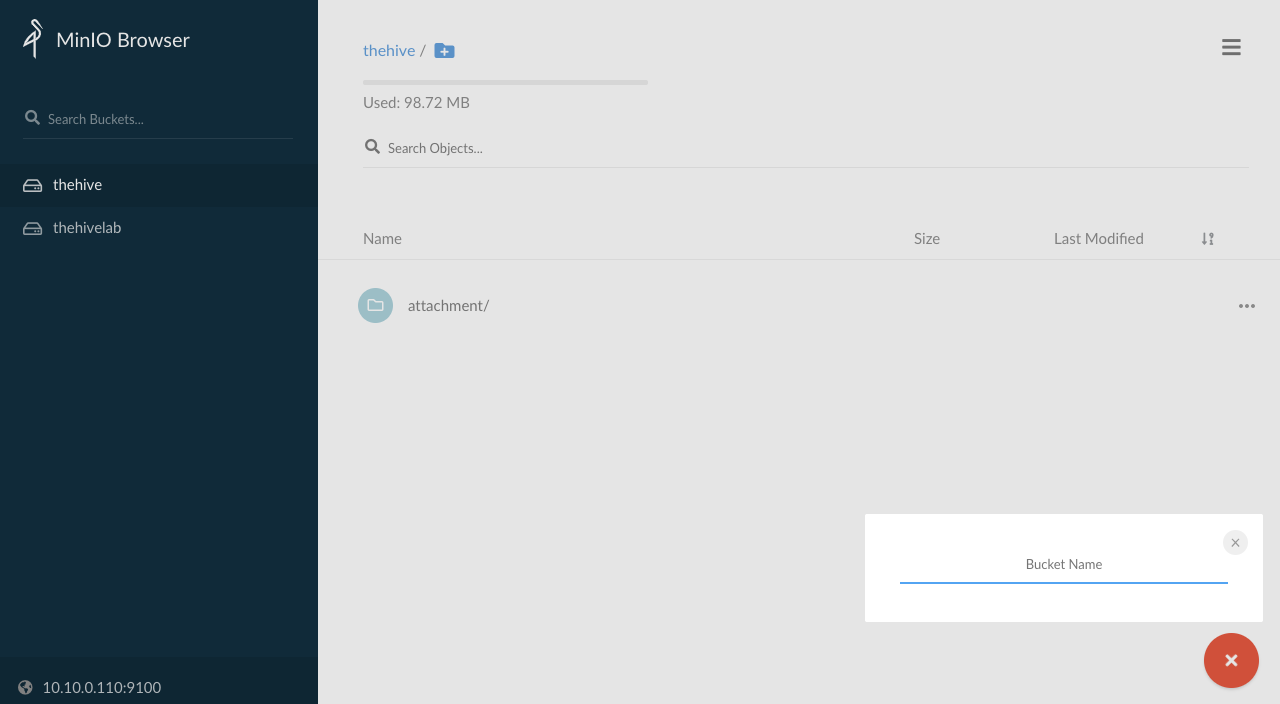
The bucket should be created and available on all your servers.
TheHive associated configuration#
For each TheHive node of the cluster, add the relevant storage configuration. Example for the first node thehive1:
storage {
  provider: s3
  s3 {
    bucket = "thehive"
    readTimeout = 1 minute
    writeTimeout = 1 minute
    chunkSize = 1 MB
    endpoint = "http://<IP_MINIO_1>:9100"
    accessKey = "<MINIO ACCESS KEY>"
    secretKey = "<MINIO SECRET KEY>"
    region = "us-east-1"
  }
}

alpakka.s3.path-style-access = force
us-east-1 is the default region if none has been specified in MinIO configuration. In this case, this parameter is optional.
Each TheHive server can connect to one MinIO server.